Hi friends,
This is one more blog I am giving here for easy and quick deployment of content in SharePoint from development server to production server. Use the following steps for proper import and export of content.
Steps for exporting the content
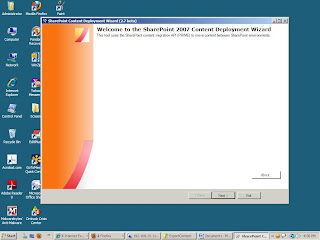
Open the SharePoint content deployment wizard
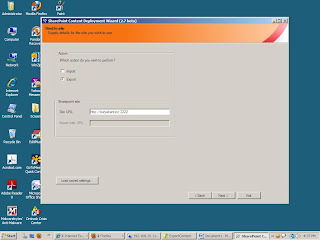
Supply the details the site you wish to use
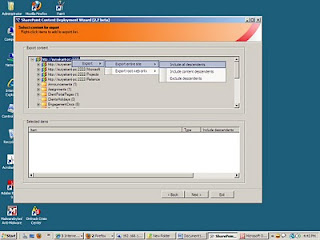
Add the export list
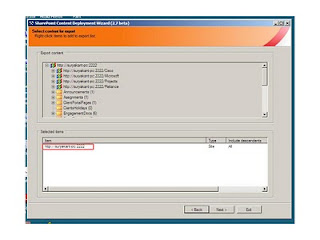
It displays the selected site in selected items like this(see the red border text)
Set the export option( path for storing content file and name of .cmp file)
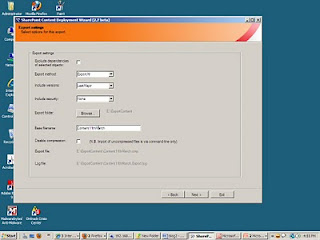
Click on finish to complete the task.
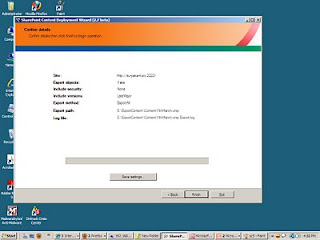
After successful completion it will display the message like this
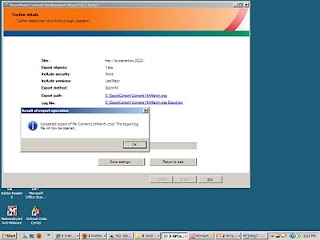
Click OK and exit the window. So Export operation is now complete. The Next step is Import this content on production server.
Steps for importing the content on production server.
For importing the content on production server we have to create the blank site collection on production server. After creating the blank site collection we can import the content by using the SPContentDeployment wizard.
Start the SPContentDeployment wizard and select the Import option then provide required details of site. Click next..
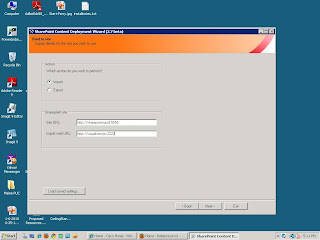
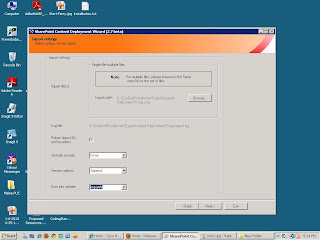
Select the .cmp file for import which we have created using export operation. Check Retain object IDs and location check box.
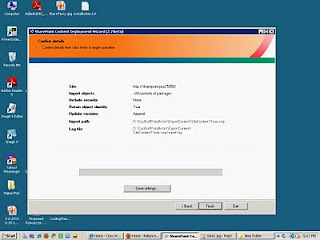
Click on finish to complete the operation.
Thats..sit done..!
No comments:
Post a Comment