Below are some of the steps provided for configuring OOB auditing feature in SharePoint 2010
First of all open the site from the browser and click on site actions menu. From the site action menu select the site settings option
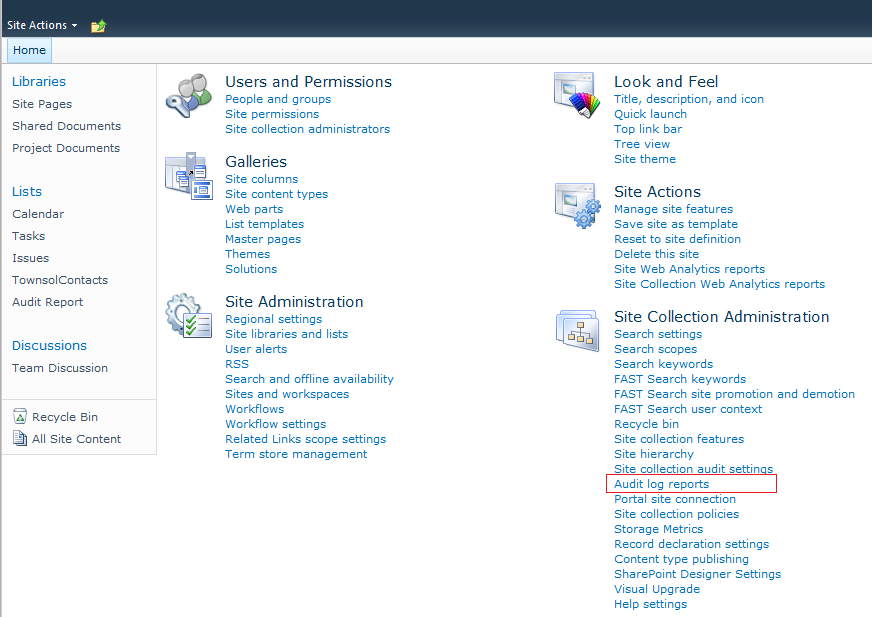
After clicking in the site settings option SP will redirect you to the settings page.Select the site collection audit settings option from there.
Now SP will show you audit setting page where you can select various level of auditing. Select the required auditing level, set the report path list and click on OK
Now auditing feature is enabled on your site. All the viewing editing and all other tacking will be done by this feature and maintained in allocated list.
You can view audit report by clicking on the audit report option from site settings page
And here is your report. Click on the link to open it in excel
Its done..! Very simple.!


2 comments:
Great, it explain step by step process to how implement audit features in SharePoint 2010 and view audit reports. I found proficient application from https://www.netwrix.com/sharepoint_auditing.html which enables to to track the site collection users and administrative activity and view of documents, document libraries, users, permissions, list, accesses, site, folders and generate the sophisticated report on demand.
Post a Comment